
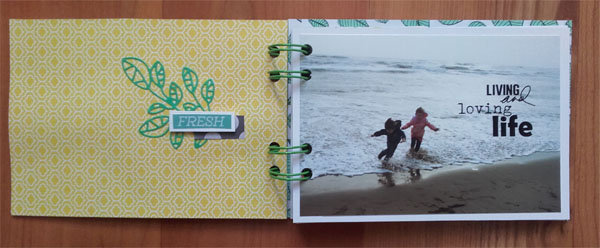
For this month's post I created an album with bright colors. I chose papers from Drawn To You [leaf paper] and Dreams [yellow paper]
I really wanted a clean and simple album with a focus on the photos so I added a wordart on each picture and a few little elements on my paper filler pages. It's a simple and effective way to quickly decorate an album.

THE MAKING OF | STEP BY STEP
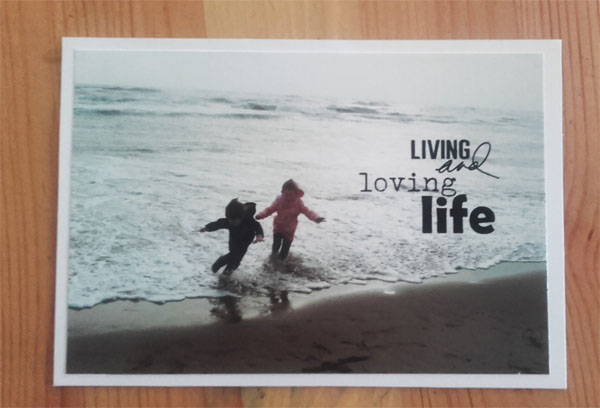
I modified each photo with photoshop and added a wordart:
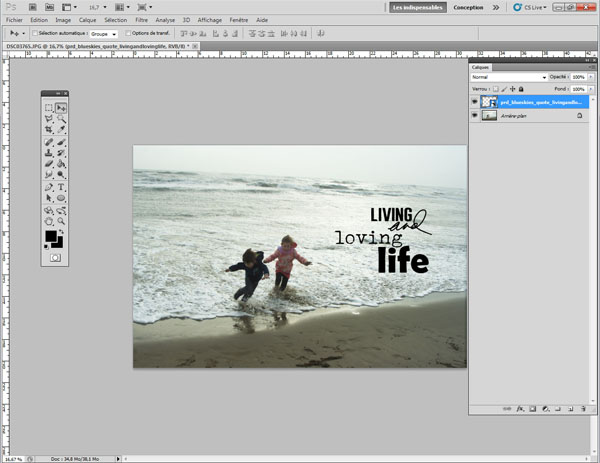
WA from Blue Skies | Elements

WA from It's a Zoo | Elements
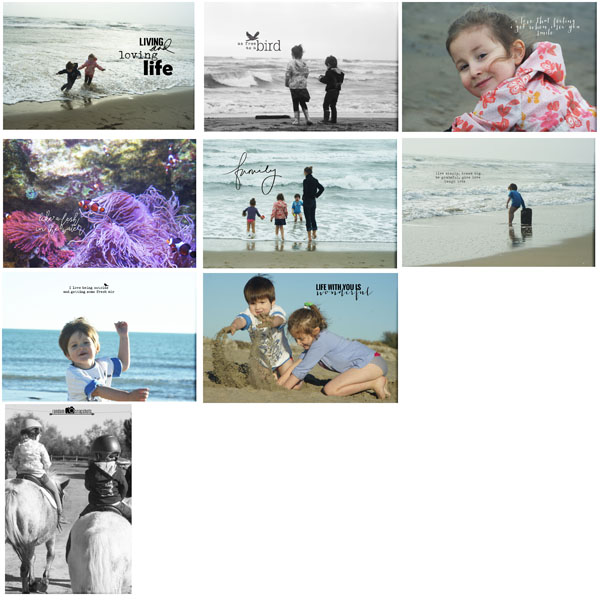
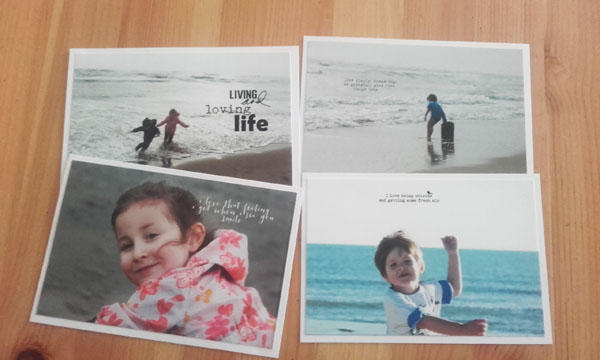
Here's all photos for my album with their wordarts [from Blue Skies, All Eyes On You, It's a Zoo, A Slice of Lemon, If Only, What I Like About You, Say Cheese
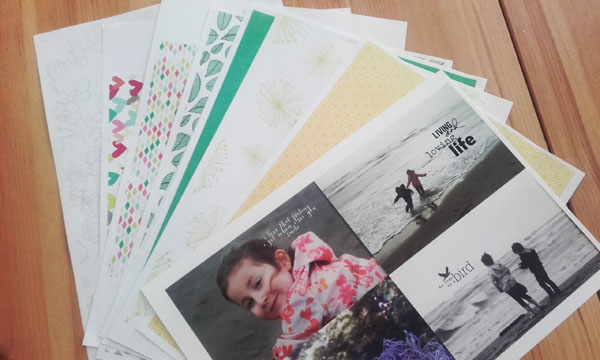
I printed the following papers and photos :
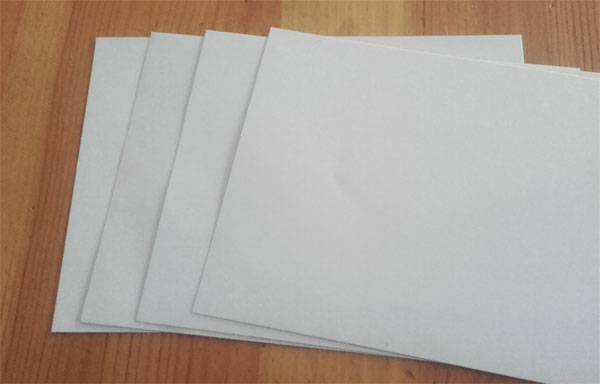
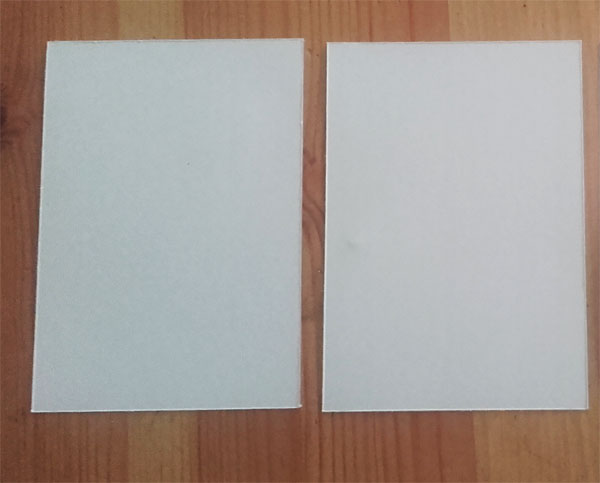
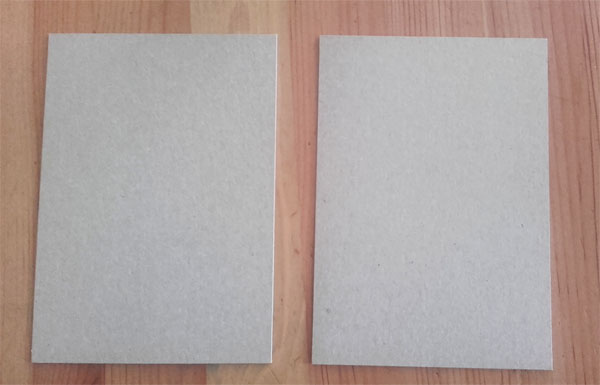
Then I cut I cut 4 rectangles out of white cardstock to create pages of my album
I glued the photos on the cardstock. One photo per side.
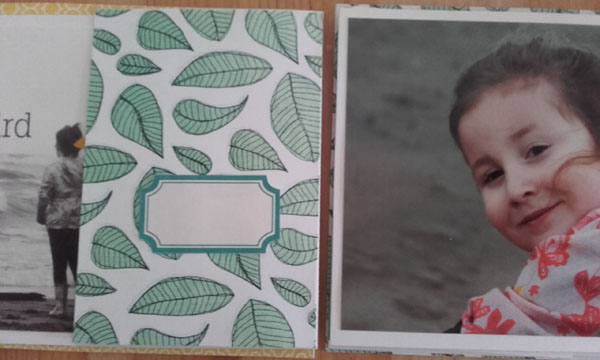
For example, on the first page, I glued this photo on the front side
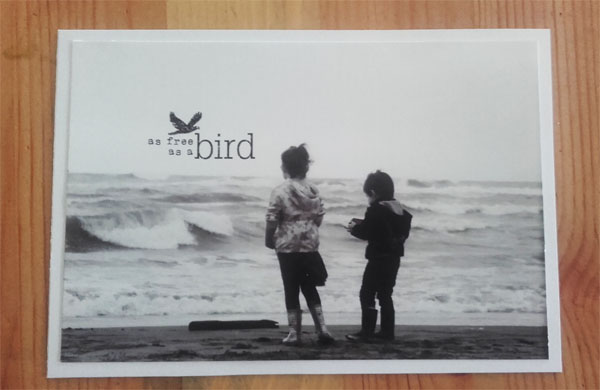
And this one the flip side.
All photos are glued
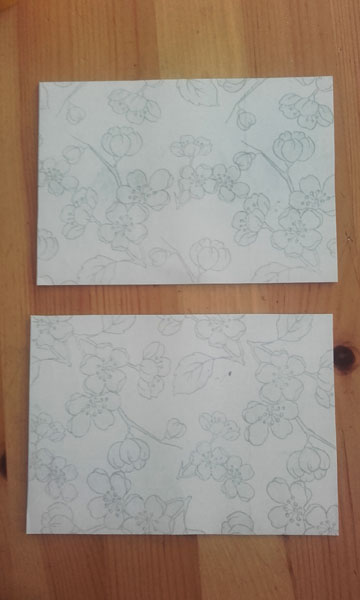
Then I created two dividers out of white cardstock :
I glued papers on these dividers to decorate them
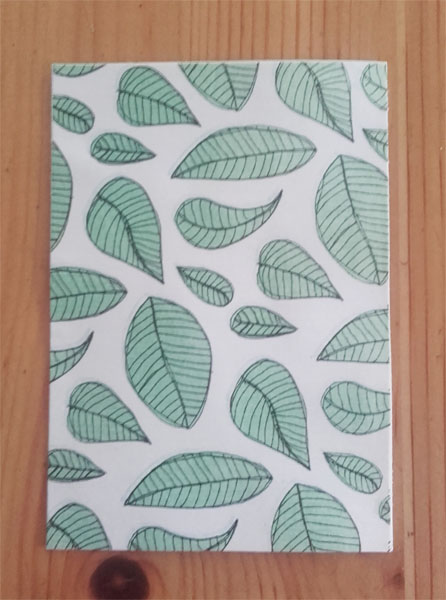
I used papers from Drawn to you
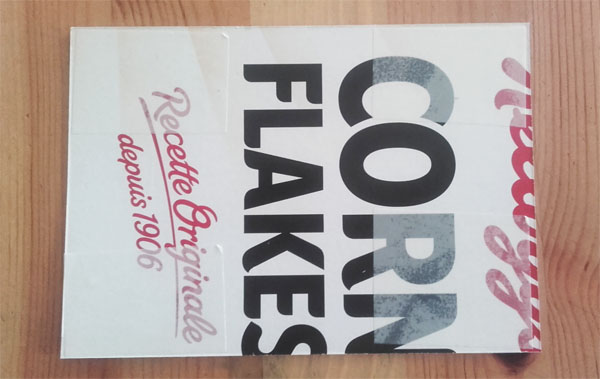
To create my album cover, I cut 2 rectangles out of the packaging of a breakfast cereals box. Like this:
I used double sided tape to glue paper on cardstock :
For covers, I used papers from Drawn to you and Forget me not
The next step was the decoration of my album, pages and covers.
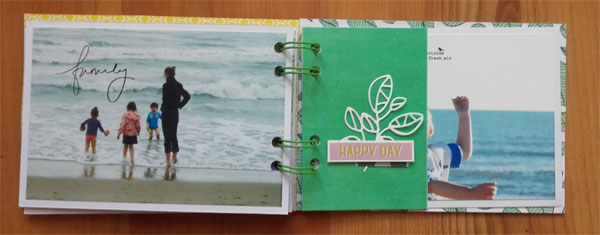
I'm going to show you only two pages inside my album as an example.
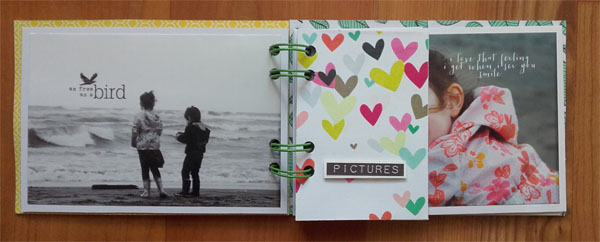
I continued with clean and simple decorating. I added few elements on each page,just to highlight my photos
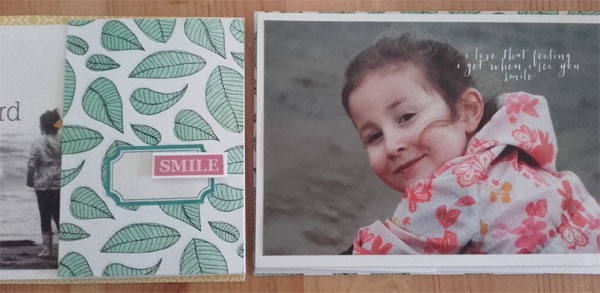
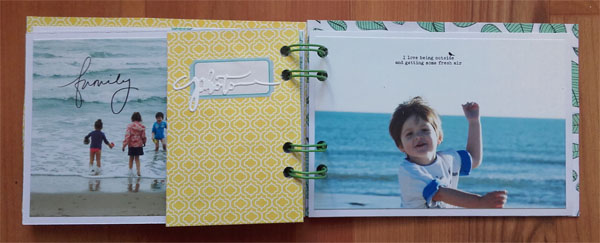
For this page, I add a tag from Awesome Sauce on the divider :
Then, I added a wordart from Spring Flutters to complete the decoration. The wordart is glued with 3D selfadhesive foam :
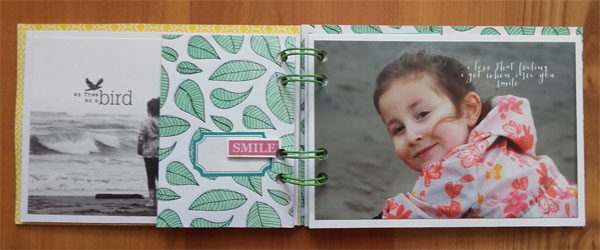
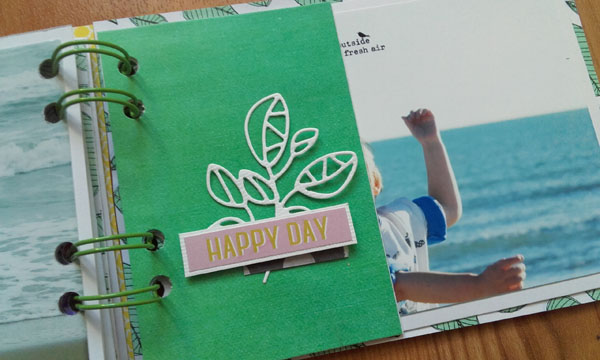
For the second divider, I glued leave shapes (leaves are cut with my cuttlebug) :
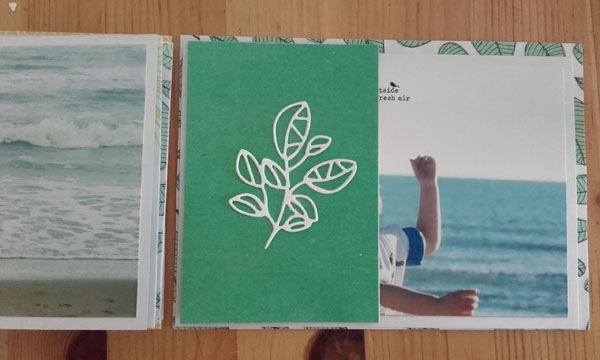
And I added a stripe of paper and wordart, again, to finish the cluster :
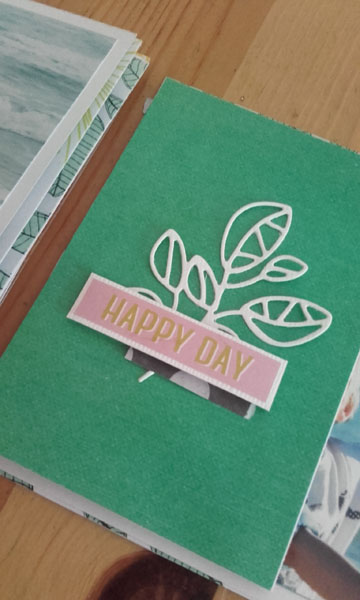
The wordart is glued with 3D selfadhesive foam. You know I love to use 3D foam
Tape is from HeArt and wordart is from Garden Party | Elements
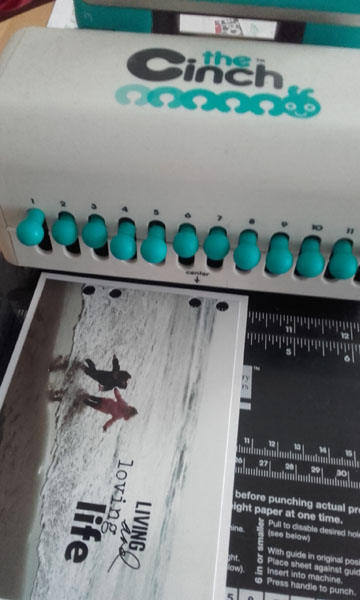
I used my "Bind-it all" to bind my album
This machine is very easy to use.
The first step is to punch holes in all pages and covers :
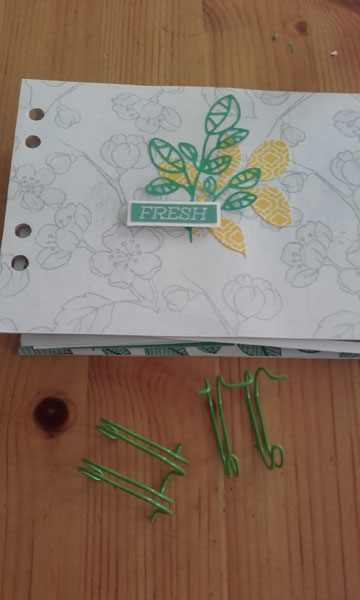
Next, I cut two pieces of metal wire to bind my album and I inserted the binding wire in the holes
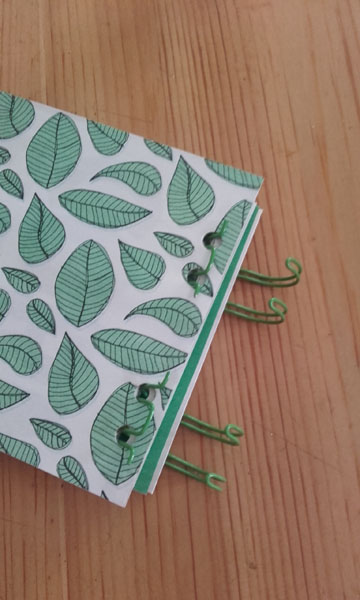
Finally, with my machine, I closed the binding.
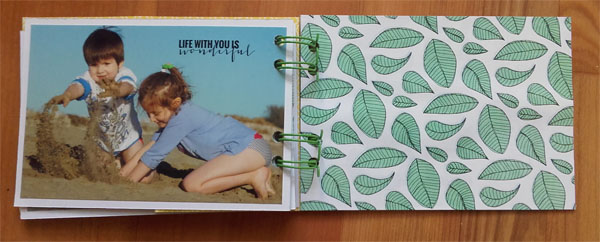
My album is finished !
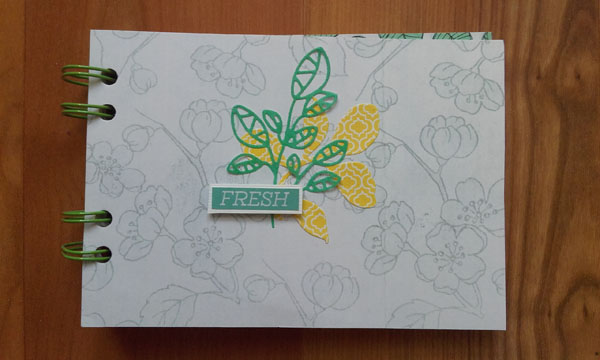
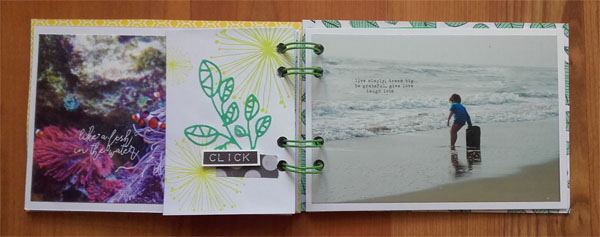
Photos and details of my album :
As always I hope you enjoyed my post and if I inspired you in any way, shape or form then by all means make a photo of your project and upload it to your gallery so you can leave a link in the comment section below! I'd love to see what you made!
No comments:
Post a Comment