

I'm going to share some ways you can recreate this galaxy of stars look, digitally, on your scrapbook pages using things you probably already have in your stash, as well as using photoshop to create some new elements. Are you ready to blast off on this galactic journey with me? Let's go!
(Note: I use Photoshop CC - so depending on your software version, things may be different or unavailable to you.)
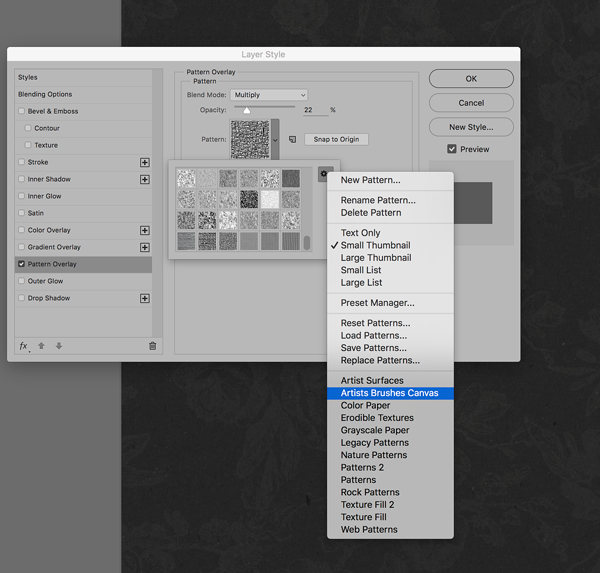
1. First I wanted a great foundation for my page. I found that my background paper needed a little something - to make it look more like the night sky. Here's where photoshop filters are really handy. I started with a beautiful subtle tone on tone paper from Just My Type, which actually had a faint floral pattern on it. I like the fact the background has some variance in blackness. But I wanted just a bit more of that cosmic look here, since this black paper was essentially representing my night sky full of stars. So I first went in to see how adding a tiny bit of texture via a Pattern Overlay would look. With your paper layer active go to Layer > Layer Styles > Pattern Overlay. The Layers Style dialogue box will open. You will see a little thumbnail next to Pattern. Here's where you can get lost in your own little black hole if you are not careful. There are so many options to chose from! Click on the down arrow next to thumbnail and a pop up window will come up. Then click on the wheel/gear icon and select some patterns from the list near the bottom. I choose Artist Brushes Canvas. (If you select "append", it will add these new patterns to the list of patterns that are already visible). I chose the Jute pattern: with multiply as the blend mode, opacity 22% and Scale 73%. Play with what looks good for your paper color and texture.
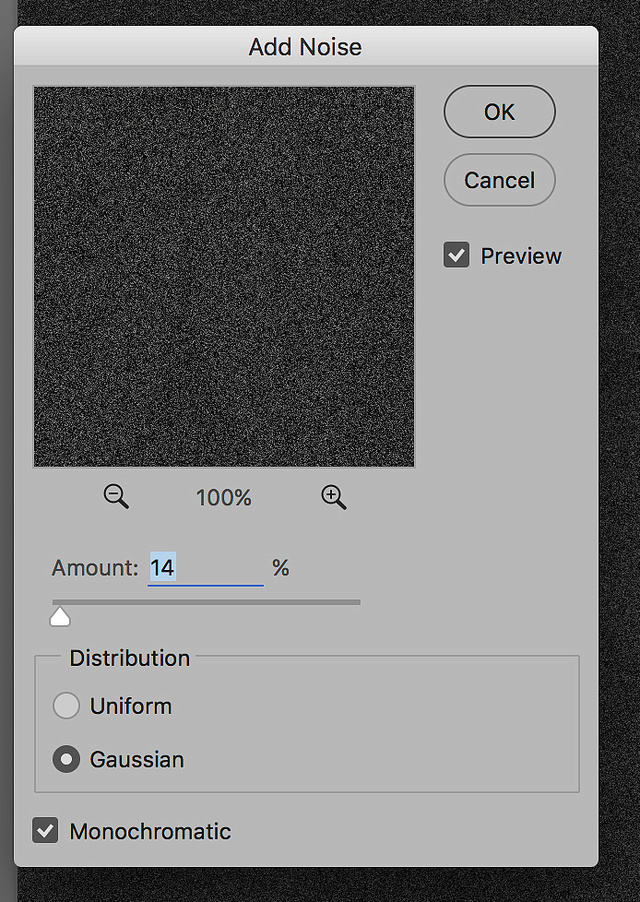
Next I went to Filter >Noise >Add Noise. I used 14% for the amount, a Gaussian distribution and selected Monochromatic. Feel free to play around with these settings to get the effect you like!
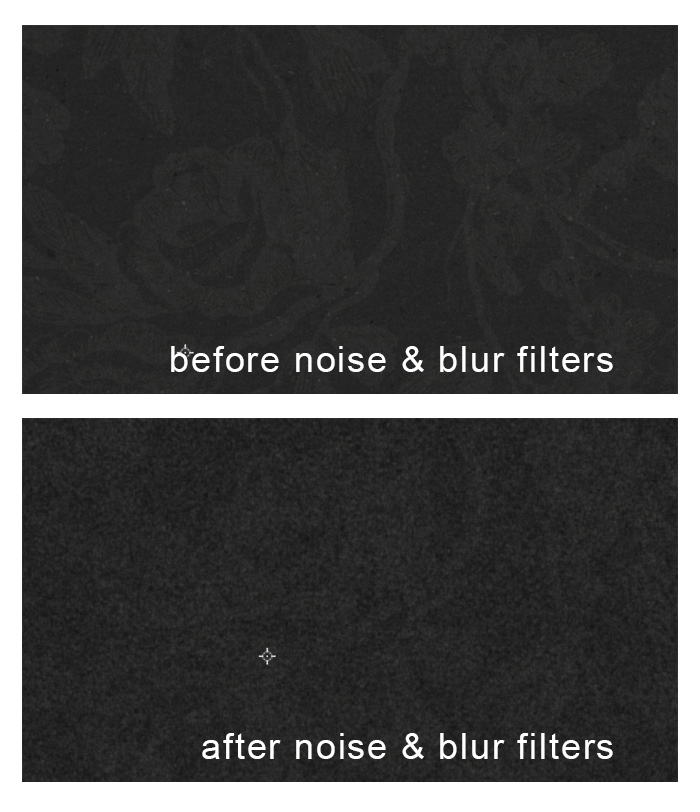
I just wanted to blur the noise effect ever so slightly to soften it. Go to Filter >Blur >Gaussian Blur. I did 2 pixels for the radius.

Here's a side by side of the paper before the filters were added and after (hopefully it shows up on your screen and you can see the differences). I am happy with my foundation paper and feel like it has a subtle cosmic feel to it. So let's add some stars next shall we?
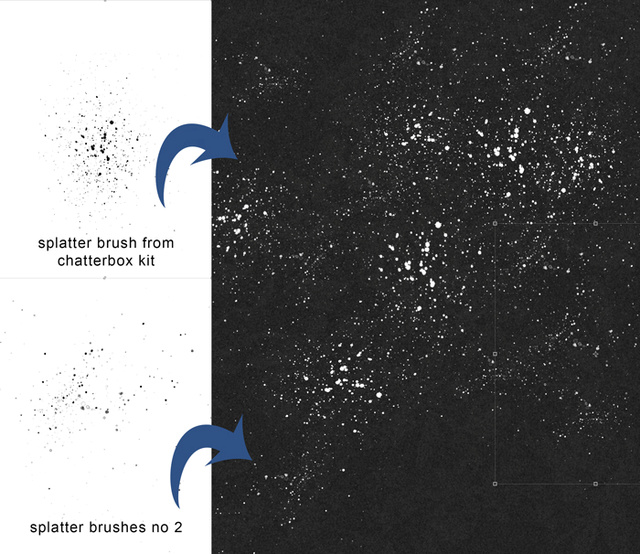
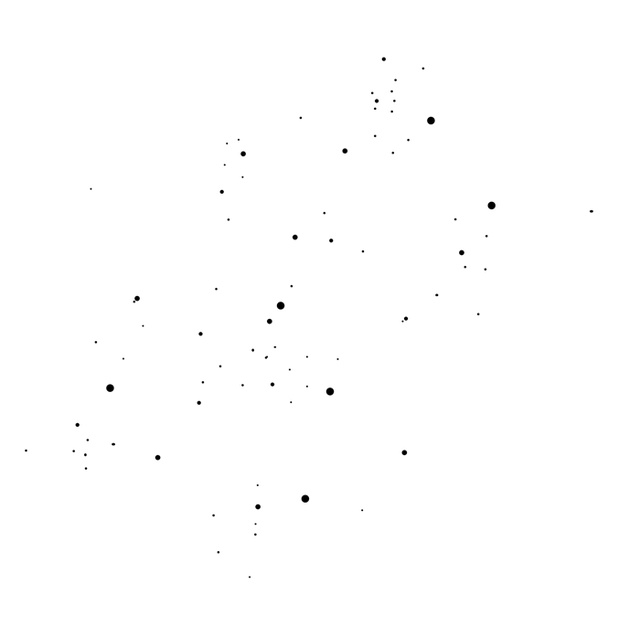
Or .... for even more control in how your stars look, you can create your own splatter of "stars" brush. Open a new blank document. Set your foreground color to black and select the brush tool. Make sure you have a 100% hard round brush and a tiny size. I used about 27 to start. On a new layer, start painting a few black spots (or stars!) on your page. Use the bracket keys to increase/decrease the size of your brush, creating a nice transition from closer (bigger stars) to further away (tiny stars). You don't have to have a ton of dots filling up you whole page - just get a nice variation down like this:
Then go to Edit >define Brush Preset and name your brush. Go back to your foundation paper (your black - or other color - background paper) and create a new layer. Select the brush tool. Make sure your foreground color is white (or a pale yellow - or really any color your creative mind would like to use!). And you can start painting on your new layer to fill it with your new star brush. (In photoshop CC - the brush I just created automatically shows up when I select the brush tool - but if your version of photoshop does not default to the brush you just created, simply go to the brush tool preset options and it should be the last choice available, listed with all the other brushes.)
You can also go to Window >Brush and make a few adjustments. Here's a screenshot:
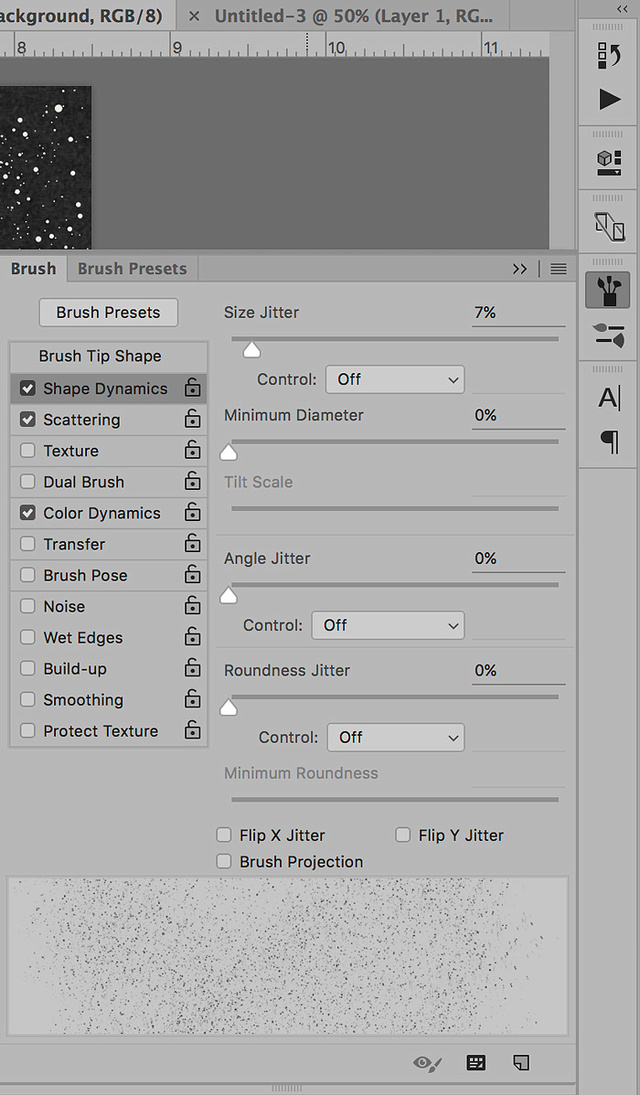
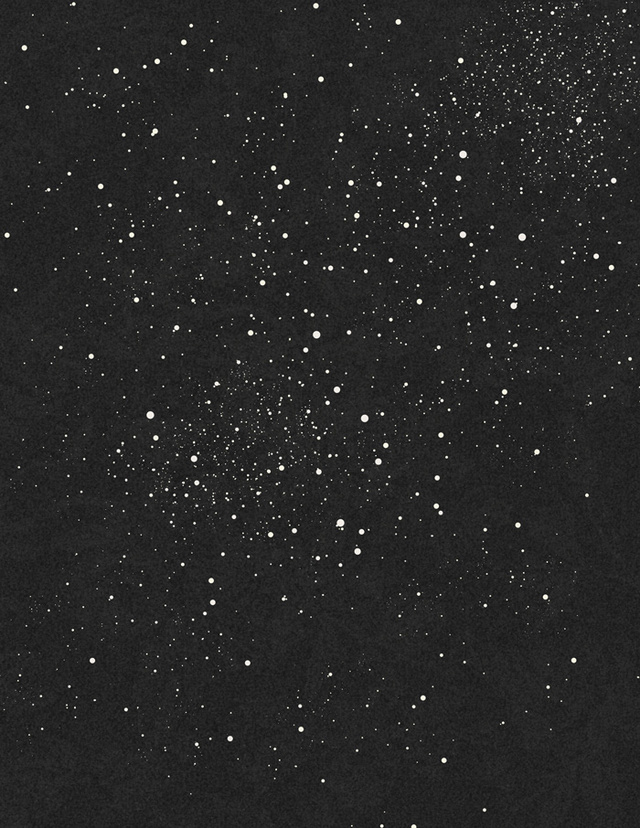
If you check the Shape Dynamics box, there are some things you can play with. Size jitter will adjust the size of the brush as you paint, angle jitter will rotate the brush for you (this creates nice variation for a more realistic effect), and you can play with the roundness if you want some of the stars to appear wonky (I did not touch this setting.) You can select Scattering and play with the sliders. In Color Dynamics: you can have variation in colors by setting your foreground color to white and background color to a pale yellow (or whatever you want). Adjust the sliders for varying amounts of hues, brightness, etc. The effects works best when you paint with the brush continuously across your page so you can see what happens. (Tip: play with the settings on a new "throw away" layer until you figure out which settings you would like to use.) Here's how my page came out with my custom galaxy stars brush and playing with several of the settings in the Brush Palette window.
This is also an excellent idea to apply directly to a photo to give a night sky a little extra magical sparkle and pizazz!
3. The last touch I want to add to this cosmic inspired background is a few sparkling stars. There are tons of ways to do this so feel free to experiment! Here's a little guide to creating a sparkling star to get you started.
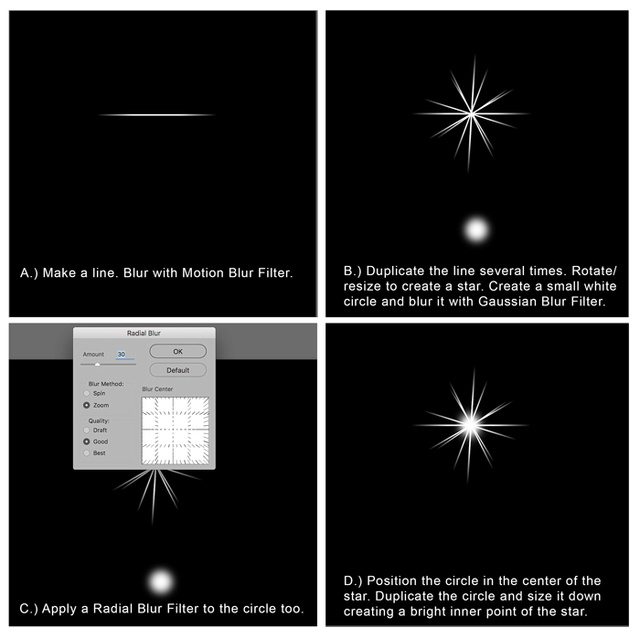
A.) Create a new layer that is 4 inches by 4 inches with a black background. Add a new layer and make sure white is your foreground color. Select the line tool (nestled under the rectangle shape tool). I used a 6 pixel width and while holding down shift, drew a straight little line. Now, go to Filter >Blur >Motion Blur and chose a distance somewhere around 150% (whatever is to your liking) but just make sure it starts to blur out the tips of your line.
B.) Then duplicate the line layer and rotate it to create a a cross. With both layers selected duplicate them and rotate again. Here's where you can create a more realistic sparkle by making sure the new blurred lines are not perfectly centered and not rotated at exactly equal dimensions. A little off-centeredness and variation in your rotation degrees helps to create a more authentic looking star. You can also scale down some the blurred lines. You can stop here or add a little punch to the center. I drew a small circle on a new layer filled with white. I went to Blur >Gaussian Blur and put in 15%.
C.) Then I went to Blur >Radial Blur and put in an amount of 30 with Zoom as the Blur Method and Quality Good. I moved this circle to the center of my star. I duplicated it and size it down just a little.
and you can see in image D (above) my finished sparkling star. If you don't have photoshop try searching for tutorials for how to make sparkling stars in your software. Or ... you can search for free brushes or PNGS if you would rather not make them your self.
And putting all of these ideas together here is how my galaxy inspired background came out. You can use these techniques directly on a nighttime photo too, to help create a star filled sky or add some sparkle to something in your photo ... candles or a diamond ring!
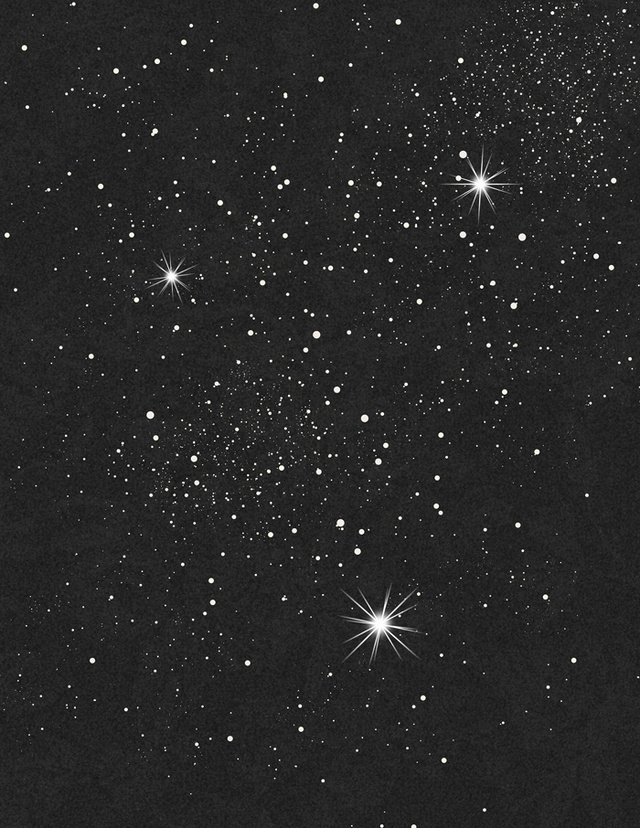
I hope you are inspired to check your stash for splatter brushes to create gorgeous star filled pages or maybe even try some of these photoshop tricks to add noise and sparkle! Thanks for tuning in!
Jenn- this is absolutely super! Terrific tutorial on "stars" and space :) I learned something new!! Thanks a bunch!!
ReplyDeleteChrista (cfile)
Christa - you are such a PS guru, I consider that a big compliment! TY xoxo
ReplyDelete